Not riding sure is going to make for a long winter, but hopefully I will be able to use the time to get some details finished on the bike.
Sunday, October 30, 2011
One Last Ride
Due to public demand (OK, only two people asked), a quick riding video. This sequence shows the start-up and take off procedure. Turn the volume up if you want to hear the sound effects (or lack of it).
It's probably the last ride of the year, with the weather getting cold. Since getting the bike licensed this summer, I put about 550 miles on it, and I've sure enjoyed being back in the saddle on a regular basis.
Not riding sure is going to make for a long winter, but hopefully I will be able to use the time to get some details finished on the bike.
Not riding sure is going to make for a long winter, but hopefully I will be able to use the time to get some details finished on the bike.
Monday, July 25, 2011
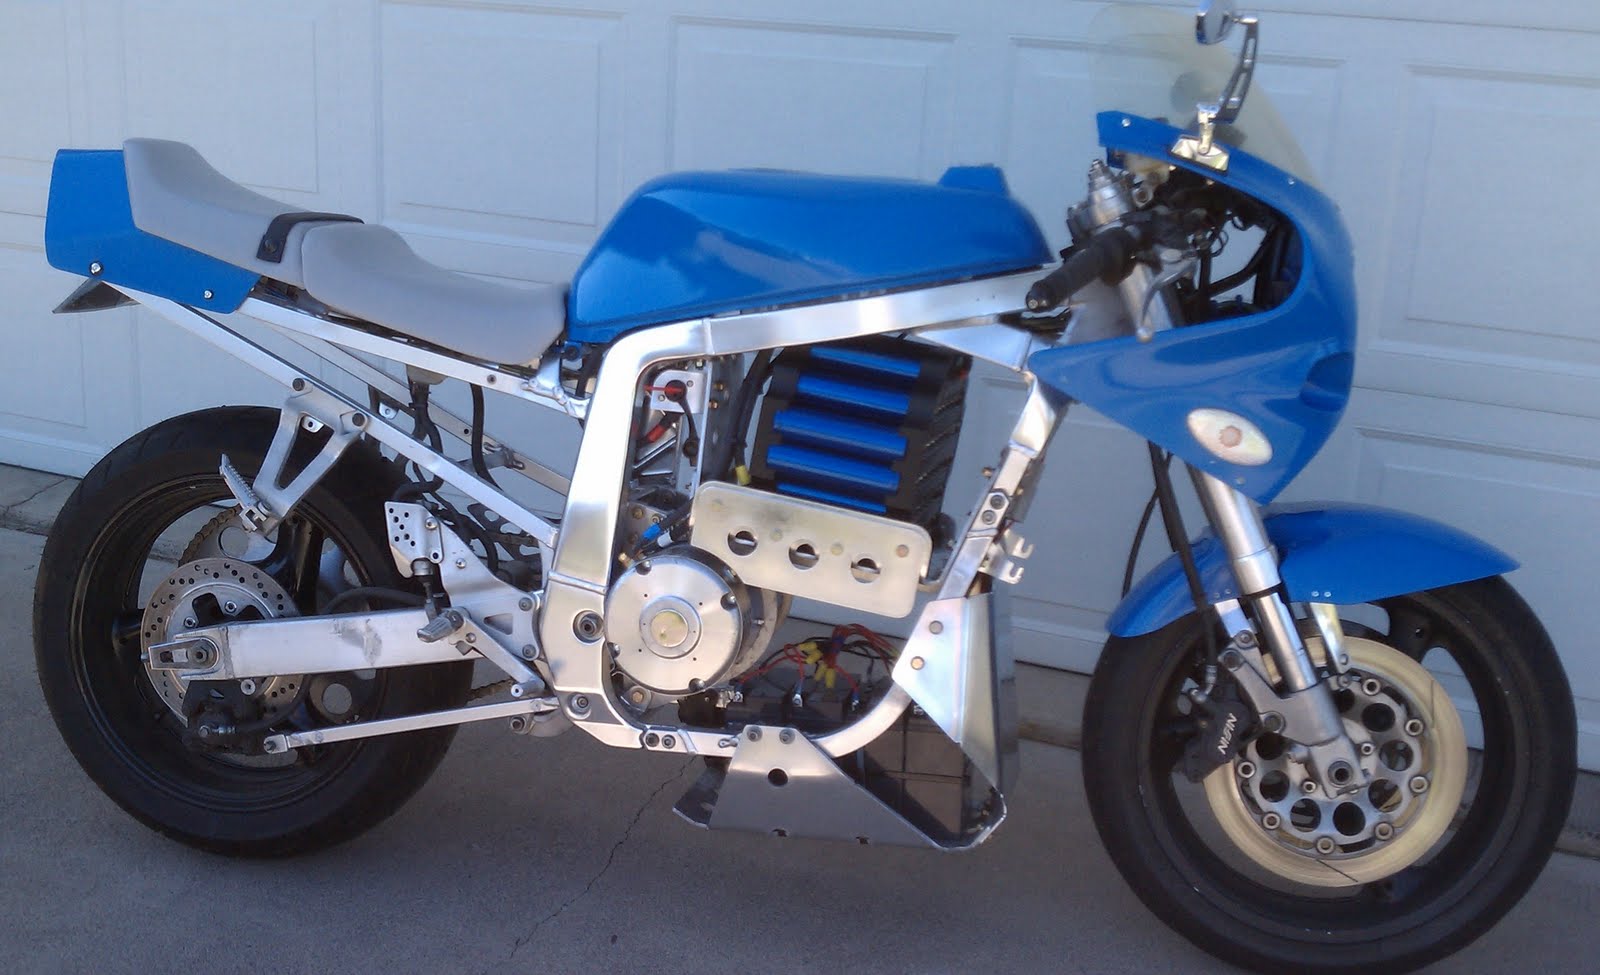
First Day of School
Time sure flies when you are getting old. Seems like only yesterday, I brought my little Gixxer home from the orphanage. After almost three years of bottle feeding and caring, he's ready to brave the world beyond his playpen in the garage.
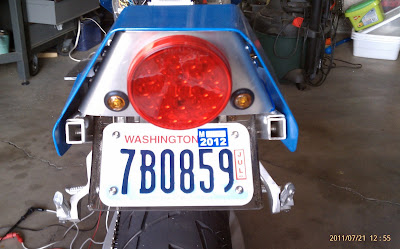
Dressed in his new school clothes

Here he is playing with other moto-kids on the play ground. Seems to be fitting in with the others, but still I worry.


Dressed in his new school clothes
Here he is playing with other moto-kids on the play ground. Seems to be fitting in with the others, but still I worry.

Monday, July 11, 2011
Assembling and Installing the New Pack
Transferring the cells from the old holders to the new Cell Frame. The rubber mallet is to disassmbled the old holders. The batteries slipped right into the new holders without forcing them. ![]()
![]()
![]()
![]()
![]()
![]()
![]()

I decided to put all the cells in parallel and apply a very gradual charge to equalize the pack. They sat connected to a 1A charger for almost a week. Voltage rose by only a couple of hundredths (3.27 to 3.30), but now I know the cells are all balanced.

Cells assembled into the frame in a 2P25S arrangement. I used a stainless threaded rod (4 places), with Allen Nuts on either end to keep the frame tight against the cells.

Time to strart making busbars. I used 1/8" x 3/4" Aluminum flat stock. Cut, scribe, punch, pilot drill, drill, chamfer, file. Repeat 40 or so times.

Getting there - lots of fasteners to install

Pack is finally assembled. Entire thing weighs in at 62.74 lbs.

It was a very tight fit to get the pack installed into the bike. But it looks awesome.

Saturday, June 18, 2011
3D Reality
It turns out my Cell Frame was a little too big to fit in the 3D Printer. I tried a variety of configurations, and some were very functional but I wasn't happy with the look. So I ended up chopping a little material on the outer edges and decided that I could add a Lexan cover if needed. I think the effect with the cells in place will be pretty cool.


A little hard to see in this picture, but the print head looks like it came from an InkJet printer.


A little hard to see in this picture, but the print head looks like it came from an InkJet printer.

The process is time intensive as the display shows: 69.29 hours to do two copies.
Monday, February 14, 2011
Visions of Battery Holders
I've been spending a lot of time lately thinking about how to hold my Headway batteries in place. The lego style holders I purchased with the batteries are fine for testing various configurations, but not super sturdy for long term use. Additionally they are a little ugly and yellow does not match my color scheme.
My first though was to machine a thick plate of Plexiglass. Unfortunately, with each additional feature I machine, the odds of botching it go up exponentionally. 50 holes, 50 counterbores, multiple slots.... do the math. Not great odds of success.
Enter in Fused Deposition Modeling (FDM), more commonly referred to as "3D Printing". Essentially slicing a model into very thin layers and printing the plastic one layer at a time. The great thing about FDM is that the part is very functional, yielding almost full strength compared to a molded part. The downside to the process is that surface finish can be a little rough, but that is not critical for my application. The other stumbling block is that you need to have access to a fairly expensive FDM machine, or know somebody who does.
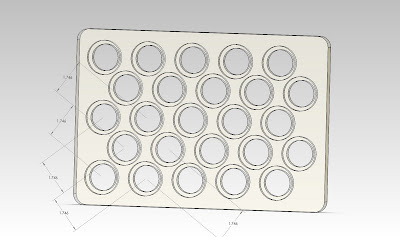
The design phase of this model is almost complete. The front side has the counter-bores for the battery diameter, but the back side is the tricky part. I've made it thick enough to give some protection from accidental contact with terminal plates and electrically live fasteners. The horizontal bars almost give the visual effect of a radiator, which I kinda like. The real thing will be black PC-ABS, so should look like sweet pieces of hardware.
My first though was to machine a thick plate of Plexiglass. Unfortunately, with each additional feature I machine, the odds of botching it go up exponentionally. 50 holes, 50 counterbores, multiple slots.... do the math. Not great odds of success.

Enter in Fused Deposition Modeling (FDM), more commonly referred to as "3D Printing". Essentially slicing a model into very thin layers and printing the plastic one layer at a time. The great thing about FDM is that the part is very functional, yielding almost full strength compared to a molded part. The downside to the process is that surface finish can be a little rough, but that is not critical for my application. The other stumbling block is that you need to have access to a fairly expensive FDM machine, or know somebody who does.
Monday, January 17, 2011
Headway Pack 2.0
Upon receipt of my second set of 25 Headway 40160s cells, I immediately began to conjure up way to configure them in the bike. My first plan was for two sub-blocks of cells (5x5) and have the batteries sit length-wise across the width of the tray. In theory the cells would fit, but I failed to account for the screws & washers on the ends of the batteries. The two sub-packs would be 1/2" too wide. Oops, back to the drawing board.


After a some playing around I came up with this arrangement. It's not ideal, but it's unique looking, fits the alloted space and there are some advantages to the layout.

There is just enough room on front/back of the pack to allow my hand in for taking voltage readings. I also have enough room to add a cover/shield to prevent curious fingers from getting shocked. This is probably not the final pack hardware, but will definitely work for the short term.
Wednesday, December 29, 2010
Holiday Inn
 Time seems to be a rare commodity lately. I had to cover up El Gixxer for the winter to keep the other garage projects from contaminating the old boy. A sad state of affairs. Prior to my Winter break I had the 25 Headway cells installed and did a series of test rides to see how they faired. To say I'm impressed is a gross understatement. 25 of these 16AH batteries are 50 lbs. lighter than the 17AH lead units they replaced, but put out way more juice.
  Not wanting to damage the cells, I needed to keep my current draw under 10C (160 Amps). I borrowed a clamp meter and did some riding to calibrate my wrist. Turns out 150 Amps accelerates the bike pretty well, and maintaining the top speed of 48mph only takes about 50-60 Amps. I started out at 5.0 miles, and worked my way up 10.2 miles on the last trip, which happens to be 0.2 miles longer than my round trip commute. With the average voltage of the cells starting at 3.40 I finished at at average voltage of 3.24. Plenty of juice to get to work and back. But having spent all funding on batteries, I was out of cash to finish up the 12V wiring.
 Bummed I couldn't be legally on the road, I turned my attention to charging and monitoring voltages. My plan was to use the Headway 72V charger (which charges to 86V) on the 25 cells without BMS. By using 25 cells instead of the usual 24 cells, they are less likely to be overcharged. With 25 cells in the pack, the average charged cell is 3.42V, which is just about right, since there is very little capacity above 3.45V. Some of the cells were noticeably higher, between 3.50 and 3.8V, and some were lower at 3.32 to 3.34. I made some attempt to top balance, by draining a few of the highest ones with a small light bulb. But every time I ran them through a discharge/charge cycle, they were out of balance again. I kinda see the need for a BMS, but still think the safest route is to under-charge and under-discharge.

The only thing I wanted for Christmas was another set of Headway 40160S cells and Santa sure delivered.
Next step is to build up my 2P25S pack of 50 cells and turn up the Amps.
Subscribe to:
Posts (Atom)